Configuring IntelOwl with HTTPS on Docker for Windows🐳
Configuring IntelOwl with a Self-Signed HTTPS Certificate on Docker for Windows
This project was motivated by the following statement on the official installation doc: IntelOwl is tested and supported to work in a Linux-based OS. It may also run on windows, but that is not officially supported yet. and the desire to run IntelOwl without having to install a third-party Type-2 hypervisor/VMM software like VirtualBox or VMware Workstation Pro.
Note: Step 6 depends on a deprecated start.py script (abstracting the docker compose process). However, the inline comments state that the script “WILL BE REMOVED IN THE NEXT MAJOR VERSION”.
Because the IntelOwl web UI application presents self-signed certificate it is intended for seamless access from localhost only. For production usage, it is recommended that a third party CA-issued certificate be used instead.
Prerequisites
- Install chocolatey package manager via PowerShell (Admin mode):
Set-ExecutionPolicy Bypass -Scope Process -Force; [System.Net.ServicePointManager]::SecurityProtocol = [System.Net.ServicePointManager]::SecurityProtocol -bor 3072; iex ((New-Object System.Net.WebClient).DownloadString('https://community.chocolatey.org/install.ps1'))
- Install Python 3
- Download Docker Desktop on Windows 10/11 via chocolatey:
choco install docker-desktop - Download Git on Windows 10/11 via chocolatey:
choco install git - Launch Docker Desktop and ensure it is in a running state:
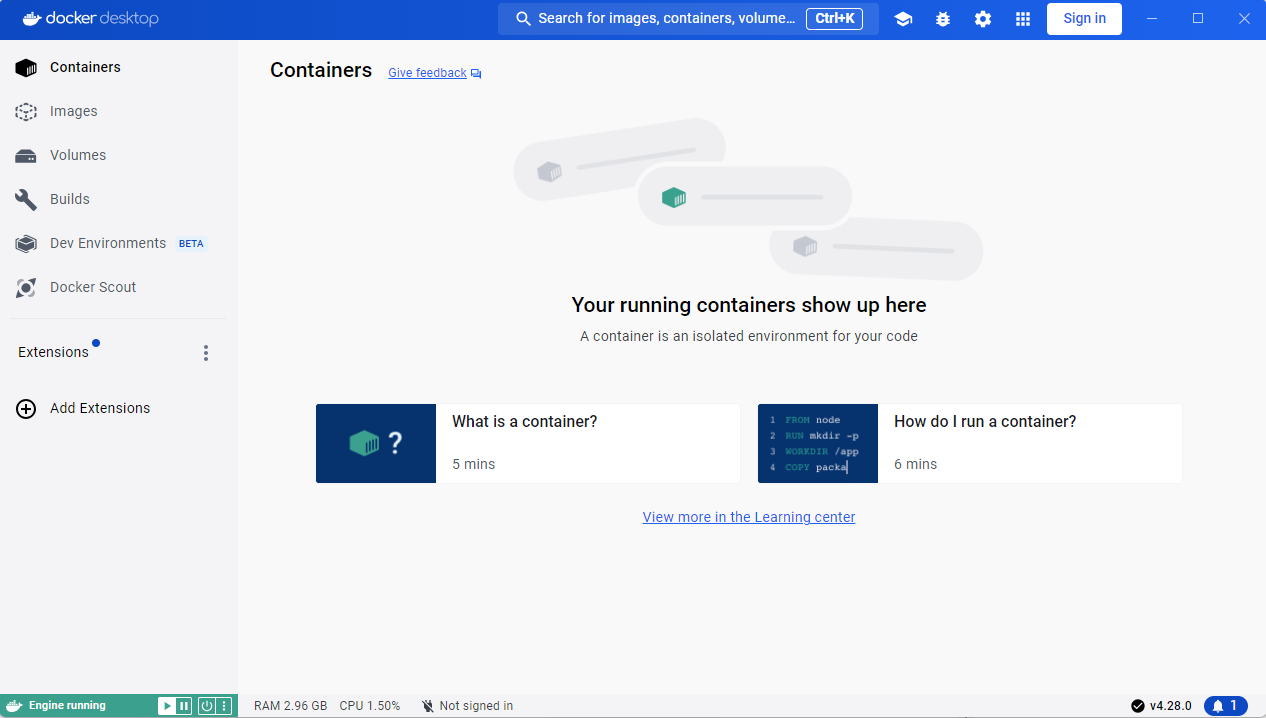
If Docker Engine fails to start: stackoverflow thewindowsclub
Steps
1. Apply the following commands by launching Command Prompt (Admin mode) and navigating to your custom directory (Default: %USERPROFILE%):
git clone https://github.com/intelowlproject/IntelOwl
cd IntelOwl/
copy docker\env_file_app_template docker\env_file_app
copy docker\env_file_postgres_template docker\env_file_postgres
copy docker\env_file_integrations_template docker\env_file_integrations
copy frontend\public\env_template.js frontend\public\env.js
python3 -m pip install python-dotenv
python3 -m pip install gitpython
2. Execute intelowl_self_signed_certificate.ps1 from the repository to:
- create a self-signed certificate issued to “CN={customCN}” (Default: CN=intelowl-prd.local):

- export the newly created certificate in DER-encoded format
- convert the DER-encoded certificate into the PEM BASE64 format and place it at {customDirectory}\ca-certificates (Default: %USERPROFILE%\ca-certificates)
- update the leading and trailing lines of the PEM-encoded certificate:
-----BEGIN CERTIFICATE----- → -----BEGIN TRUSTED CERTIFICATE-----

-----END CERTIFICATE----- → -----END TRUSTED CERTIFICATE-----
- extract the PEM-encoded private key to {customDirectory}\private (Default: %USERPROFILE%\private)
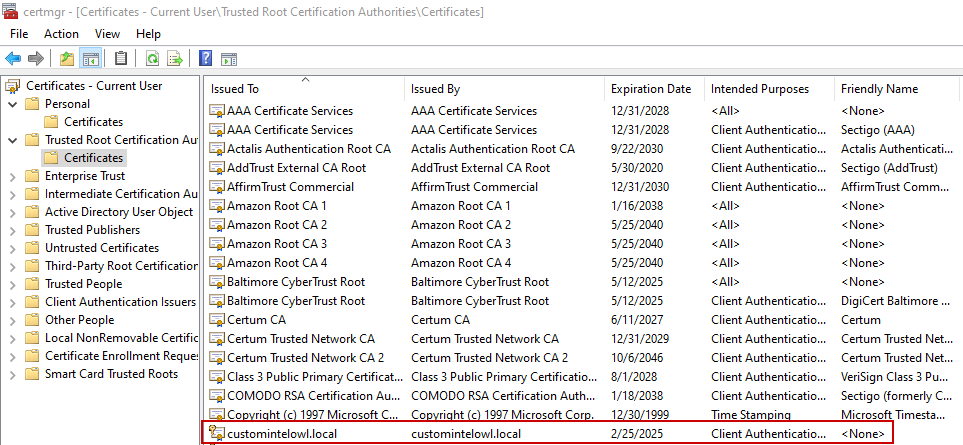
- add certificate to
Trusted Root Certification Authorities store:
- move the ca-certificate/ and private/ folders to {PathToIntelOwl} (Default: %USERPROFILE%\IntelOwl)
Note: The workingDir and certname parameters are exposed to allow for arbitrary placement of the IntelOwl folder and customization of the Common Name–for example, the screen captures above assume the following parameters:
powershell -ep bypass .\intelowl_self_signed_certificate.ps1 -workingDir C:\temp -certname customintelowl.local

3. In the DockerFile_Nginx file, append the following (source paths are relative to the {PathToIntelOwl} folder):
COPY /private/intelowl-prd.local.key /etc/ssl/private/intelowl-prd.local.key
COPY /ca-certificates/intelowl-prd.local.cer /usr/local/share/ca-certificates/intelowl-prd.local.cer
Note: if a custom Common Name was supplied, replace “intelowl-prd.local” with it.
4. In IntelOwl\docker\https.override.yml, update the volume mountpoint as follows (under services > nginx > volumes):
version: '3.8'

services:
  nginx:
    volumes:
      - ../configuration/nginx/https.conf:/etc/nginx/conf.d/default.conf
      - ../ca-certificates:/usr/local/share/ca-certificates
      - ../private:/etc/ssl/private
    ports:
      - "443:443"
5. In IntelOwl/configuration/nginx/https.conf, ensure the leading # from the ssl directive is intact:
#ssl on
and update the ssl_certificate and ssl_certificate_key directives as follows:
    ssl_certificate /usr/local/share/ca-certificates/intelowl-prd.local.cer;
    ssl_certificate_key /etc/ssl/private/intelowl-prd.local.key;
Note: if a custom Common Name was supplied, replace every occurrence of “intelowl-prd.local” with it (using Find/Replace)
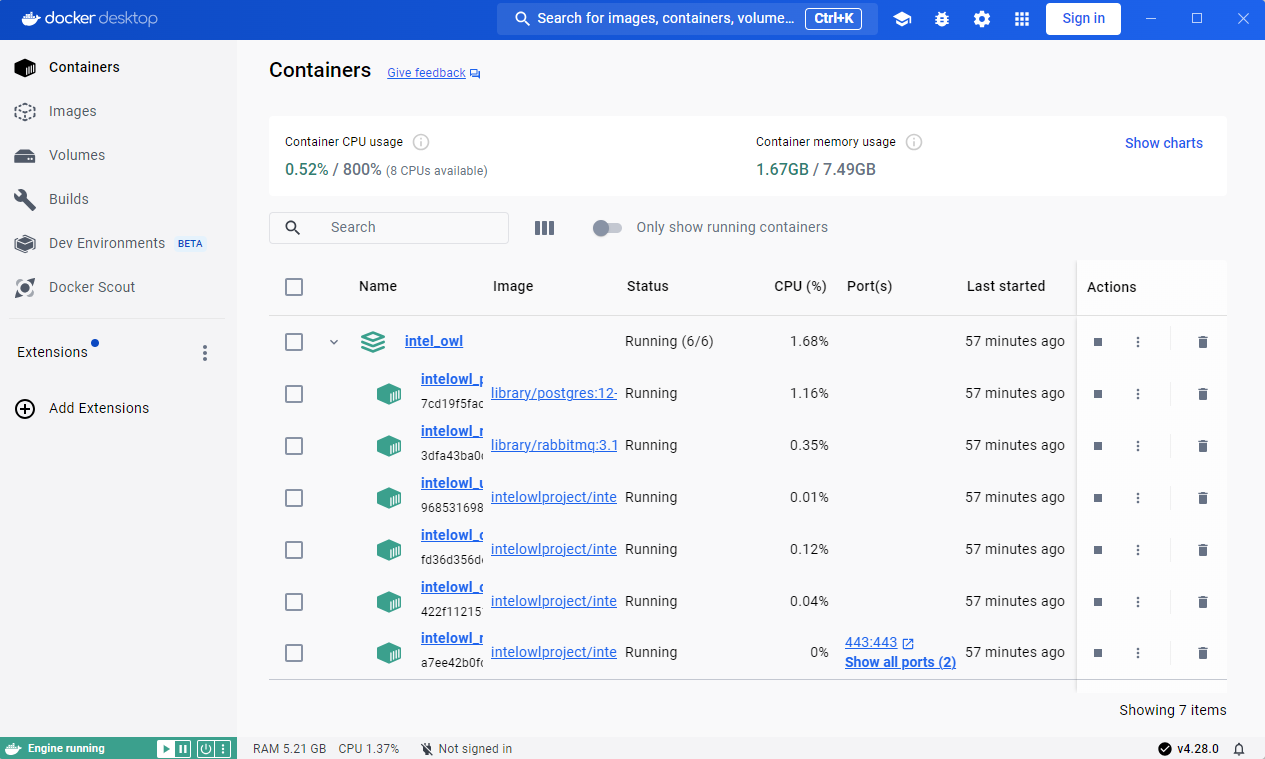
6. Launch the Python script start.py from {PathToIntelOwl} to initialize the application containers:
python3 start.py prod up --https
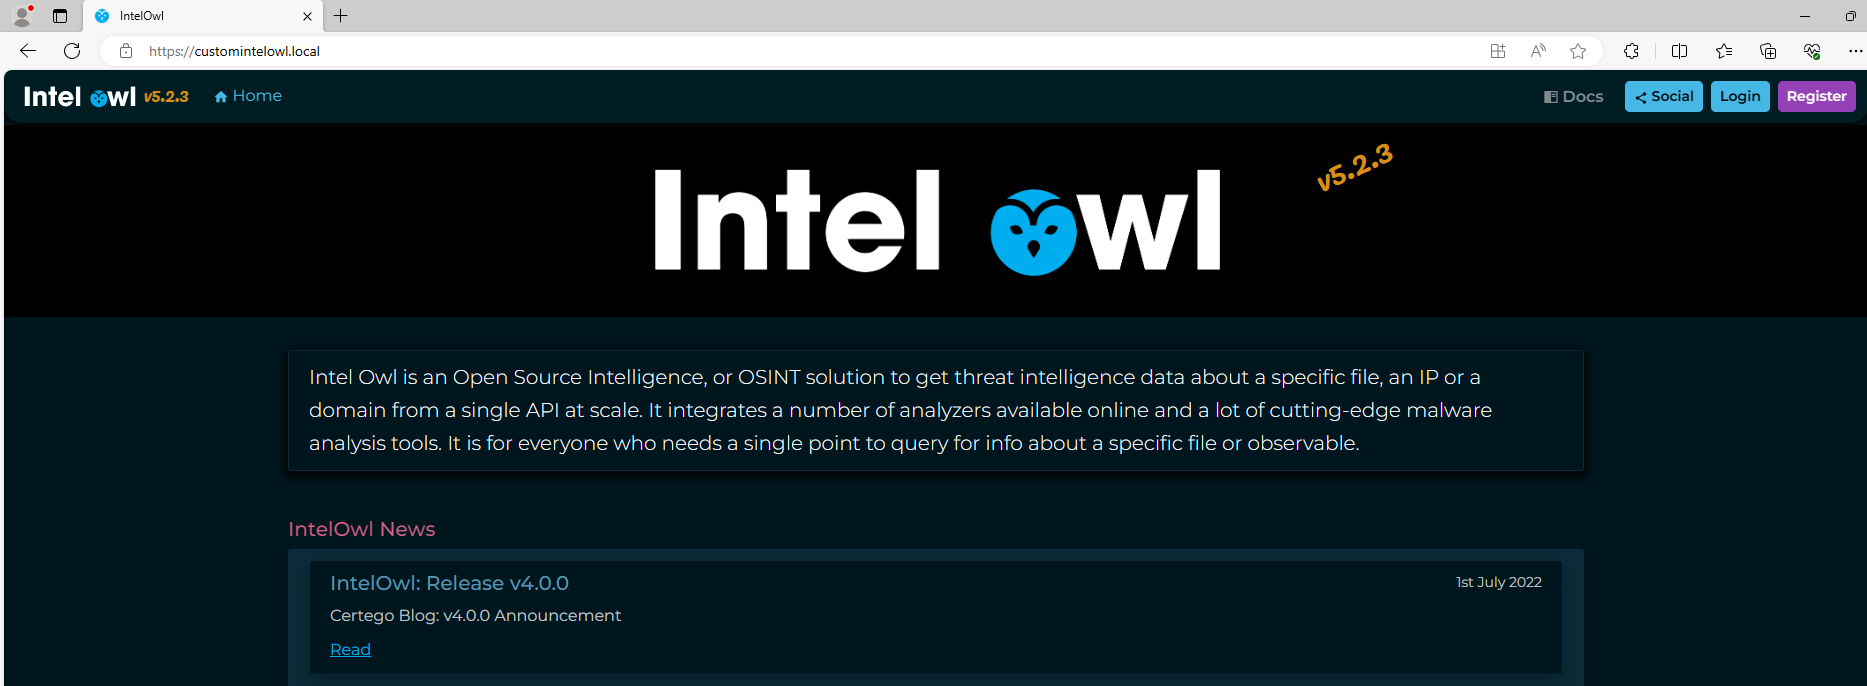

7. Set up your superuser account:
docker exec -ti intelowl_uwsgi python3 manage.py createsuperuser
- In PowerShell (admin mode), add the CN name to your local host file:
Add-Content -Path $env:windir\System32\drivers\etc\hosts -Value "`n127.0.0.1`t{customCN}" -Force
Notes
- While composing the logic to extract the PEM-encoded private key from the certificate in the Personal container of the local certificate store, we encountered the following error when attempting to read the key with OpenSSL 3:
> openssl pkey -in .\sample.key
Could not read key from .\sample.key
98040000:error:1608010C:STORE routines:ossl_store_handle_load_result:unsupported:crypto\store\store_result.c:151:
98040000:error:1608010C:STORE routines:ossl_store_handle_load_result:unsupported:crypto\store\store_result.c:151:
98040000:error:1E08010C:DECODER routines:OSSL_DECODER_from_bio:unsupported:crypto\encode_decode\decoder_lib.c:102:No supported data to decode.
The structure of the key file was well-formed: with -----BEGIN PRIVATE KEY----- and -----END PRIVATE KEY----- enclosing the body content and CRLF line breaks. Moreover, if the contents of the file were copied to a newly created file, the openssl verification command would succeed.
Using the following PowerShell script to identify the character encoding:
PS C:\Users\GenericPC\Downloads> powershell -ep bypass .\get-encoding.ps1

Encoding                    Path
--------                    ----
System.Text.UnicodeEncoding C:\Users\GenericPC\unicode-encoded.key
System.Text.ASCIIEncoding   C:\Users\GenericPC\ascii-encoded.key
we see that the key file which could not be parsed by OpenSSL is infact, Unicode-encoded.
The solution was to ensure that write to file operation was performed with: Set-Content -Path "$workingDir\private\$certname.key" or Out-File -FilePath "C:\Users\GenericPC\$certname.key" -Encoding ASCII (with -Encoding parameter specified).
function Get-Encoding
{
  param
  (
    [Parameter(Mandatory,ValueFromPipeline,ValueFromPipelineByPropertyName)]
    [Alias('FullName')]
    [string]
    $Path
  )

  process
  {
    $bom = New-Object -TypeName System.Byte[](4)

    $file = New-Object System.IO.FileStream($Path, 'Open', 'Read')

    $null = $file.Read($bom,0,4)
    $file.Close()
    $file.Dispose()

    $enc = [Text.Encoding]::ASCII
    if ($bom[0] -eq 0x2b -and $bom[1] -eq 0x2f -and $bom[2] -eq 0x76)
      { $enc =  [Text.Encoding]::UTF7 }
    if ($bom[0] -eq 0xff -and $bom[1] -eq 0xfe)
      { $enc =  [Text.Encoding]::Unicode }
    if ($bom[0] -eq 0xfe -and $bom[1] -eq 0xff)
      { $enc =  [Text.Encoding]::BigEndianUnicode }
    if ($bom[0] -eq 0x00 -and $bom[1] -eq 0x00 -and $bom[2] -eq 0xfe -and $bom[3] -eq 0xff)
      { $enc =  [Text.Encoding]::UTF32}
    if ($bom[0] -eq 0xef -and $bom[1] -eq 0xbb -and $bom[2] -eq 0xbf)
      { $enc =  [Text.Encoding]::UTF8}

    [PSCustomObject]@{
      Encoding = $enc
      Path = $Path
    }
  }
}

Get-Encoding C:\Users\GenericPC\unicode-encoded.key
Get-Encoding C:\Users\GenericPC\ascii-encoded.key
